How to Install TWRP Recovery & Magisk Root on Android with Odin (2020)
Here are some step by step instructions on how to install TWRP Recovery and then root using Magisk on any Android phone using Odin.
TWRP (TeamWin Recovery Project) is the ‘tool’ we’ll use to install Magisk which will give us root – so you need TWRP installed before you can root.
Here are the video instructions, the written instructions are down below:
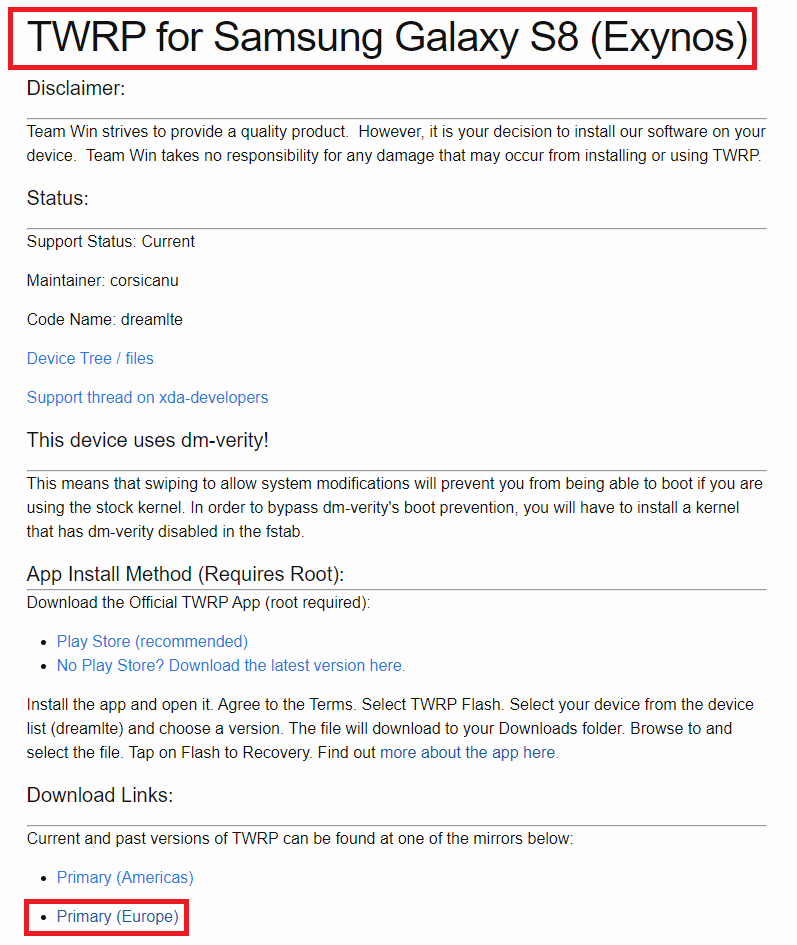
Step 1) Go to https://twrp.me/Devices/ and search for your phone to ensure it’s compatible. If so – great, you can continue
Step 2) Once you’ve found your phone on the TWRP site, click on it and then select one of the download links here I’m selecting Europe:
Step 3) Next up, select the latest available version of TWRP and download the .img.tar file:
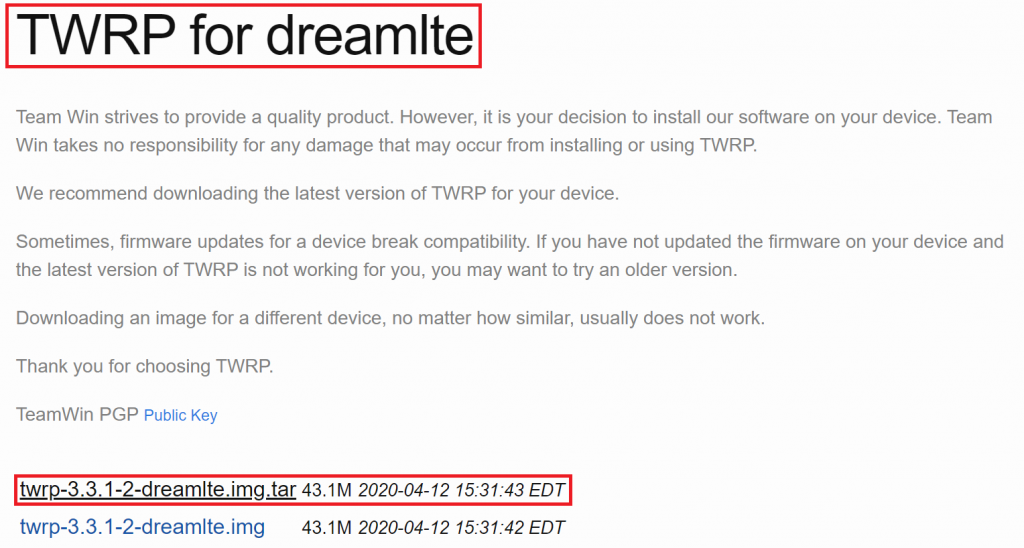
Here I’m downloading the file named twrp-3.3.1-2-dreamlte.img.tar
Once the download completes, drag the file from your download folder to the Desktop (or at least put it somewhere you will remember :)):

Step 4) Whilst this is downloading, download the latest version of Odin from here: https://forum.xda-developers.com/android/software/patched-odin-3-13-1-t3762572 At the time of writing, the latest version is 3.13.1_3B which has a direct link here: https://forum.xda-developers.com/attachment.php?attachmentid=4446947&d=1521037501
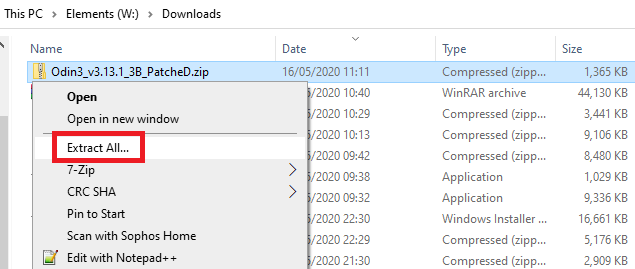
You should end up with the following ZIP file:

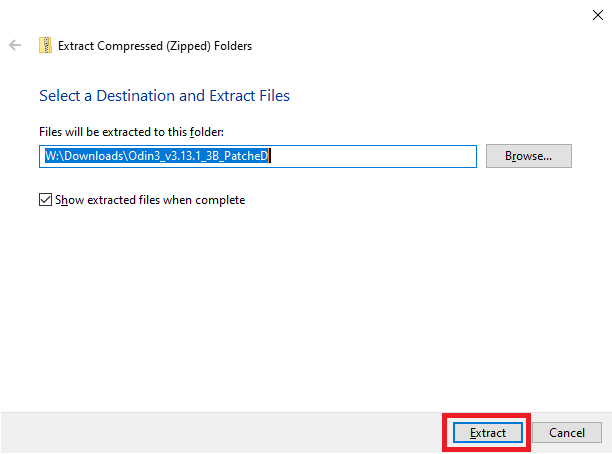
Right-click the zip file and select Extract All…:
Now press the Extract button:
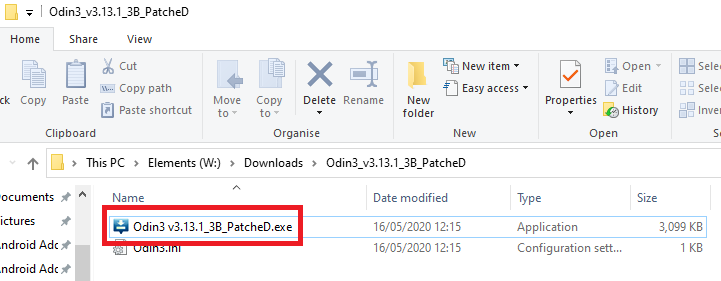
You’ll now see the extracted files. Double-click the Odin3 v3 .exe to load the program:
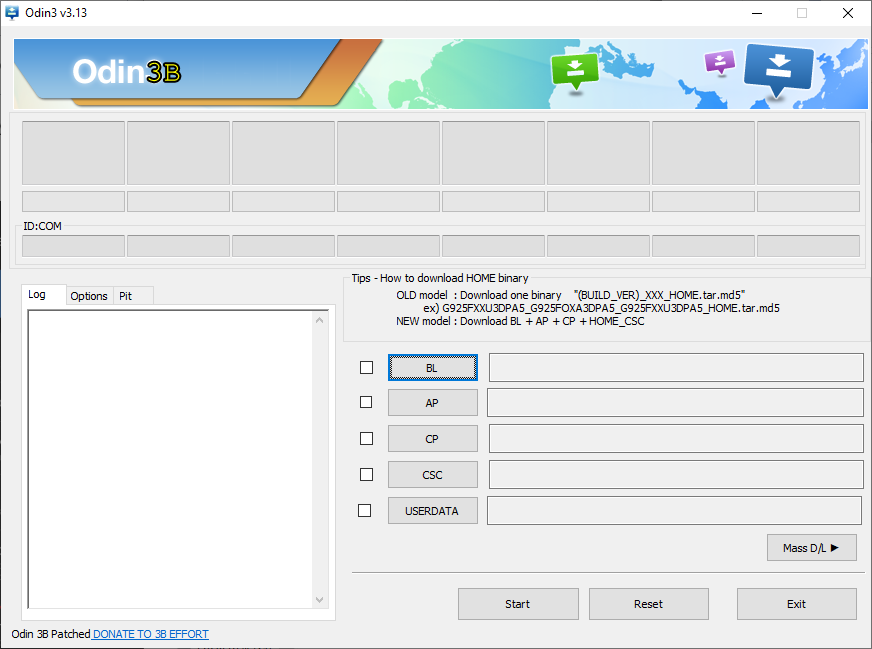
The main Odin screen will appear:
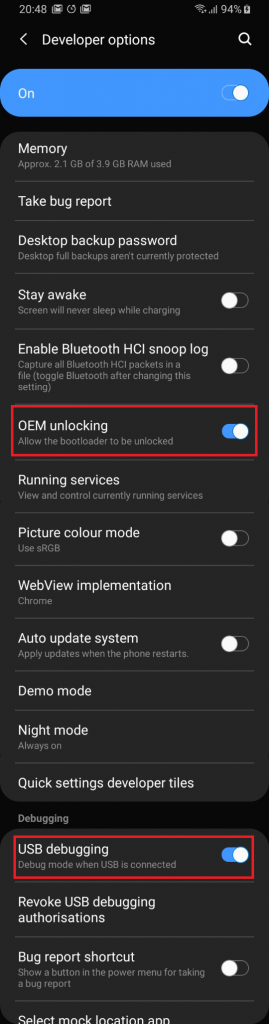
Step 5) On your phone, Enable “USB Debugging” and “OEM unlocking” from the Developer options:
Step 6) Put your phone into Download mode and connect it to your computer. To get into Download mode, power off your phone and, on the Galaxy S8, hold Volume Down + Bixby + Power:
You should see Odin detect it:

If your phone doesn’t appear then there are a few things to try/check:
Is there a popup asking if you want to allow the computer to connect? If so, click Allow
Ensure you have the latest Phone USB drivers installed
Ensure you’ve enabled Developer Options and USB Debugging
Try a different USB cable
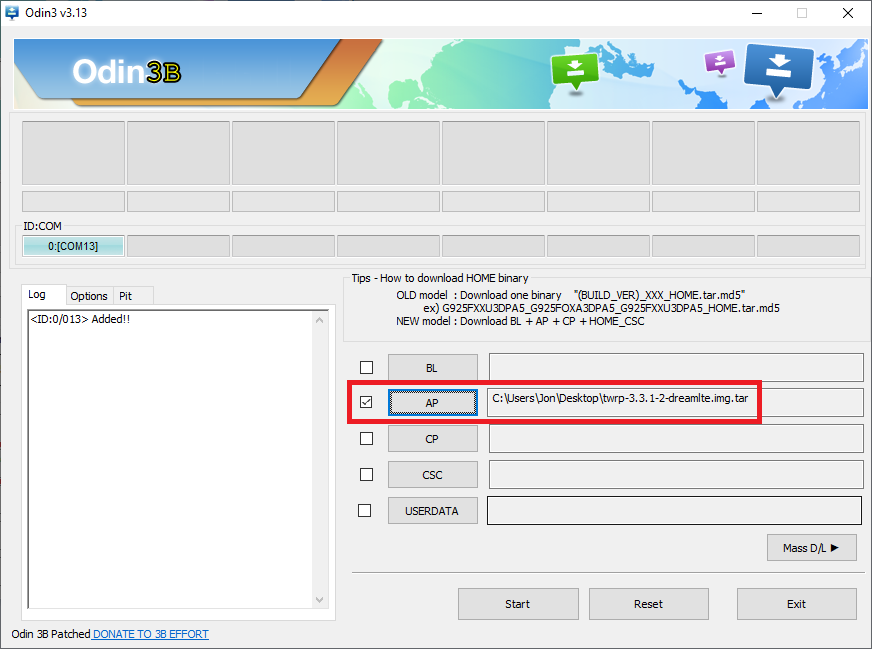
Step 7) Click on the button named AP and browse for the .img.tar TWRP file we downloaded earlier. Select it and it should appear as below:
In Odin, click on Options and make sure you UN-TICK Auto Reboot:
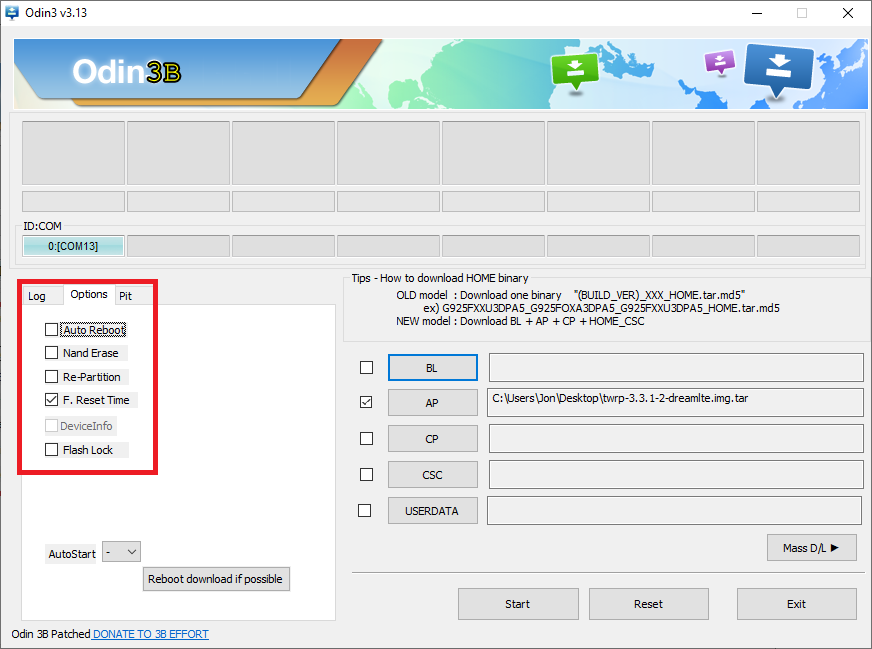
If you do not un-tick this option, the phone will reboot normally and your phone will revert back to the previous stock recovery.
Step 9) Click the Start button and wait for Odin to flash the recovery file
Step 10) Once complete we want to go into the phone’s recovery mode, to do this we need to start the phone up whilst holding Volume Up + Bixby + Power. This is why we turned off the Auto Reboot option above – because you only get a second or so to actually perform this action.
So first off, as we’re still in Download mode we need to hold Volume Down + Power for 7 seconds to cancel it. This restarts the phone – AS SOON AS the screen goes black press and hold the Volume Up + Bixby + Power
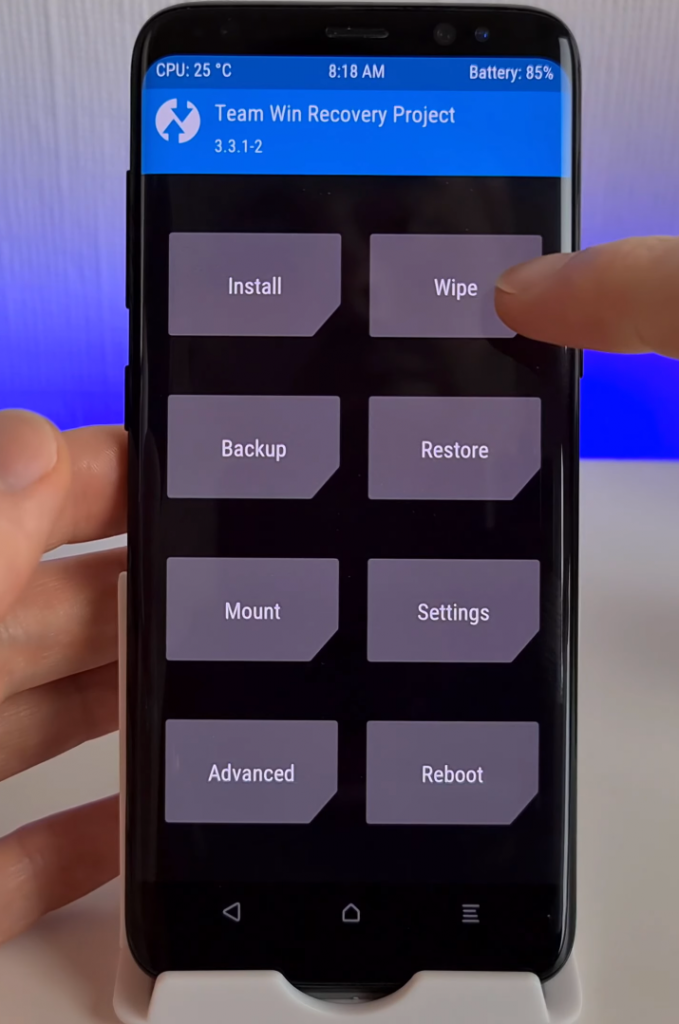
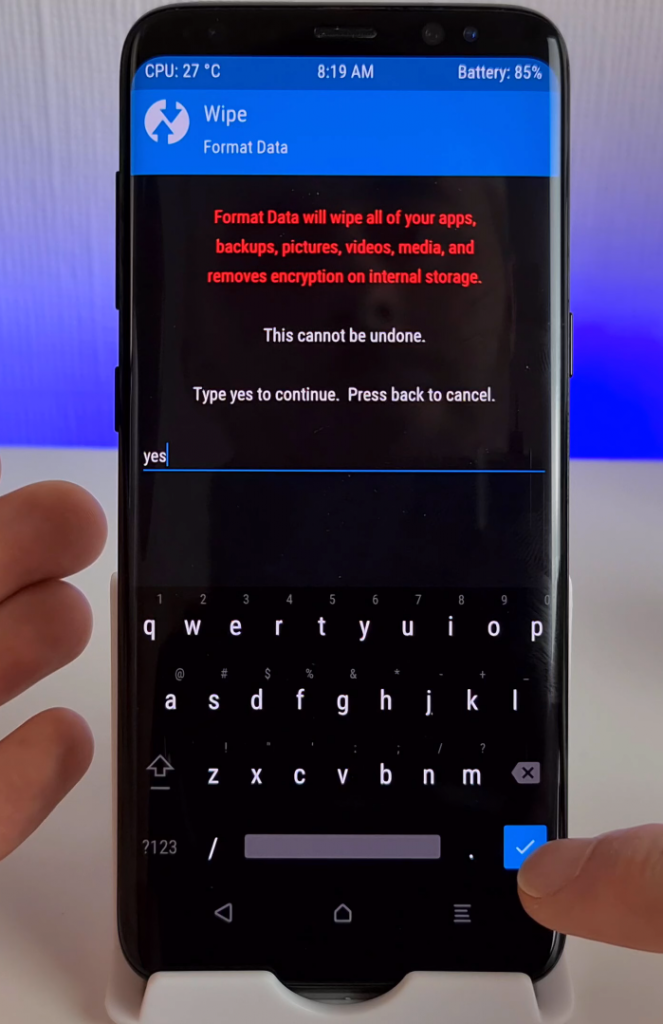
You should now be in Team Win Recovery Project! Now we need to select Wipe from the main screen:
Make sure you’ve backed up any data you want to keep before proceeding!!
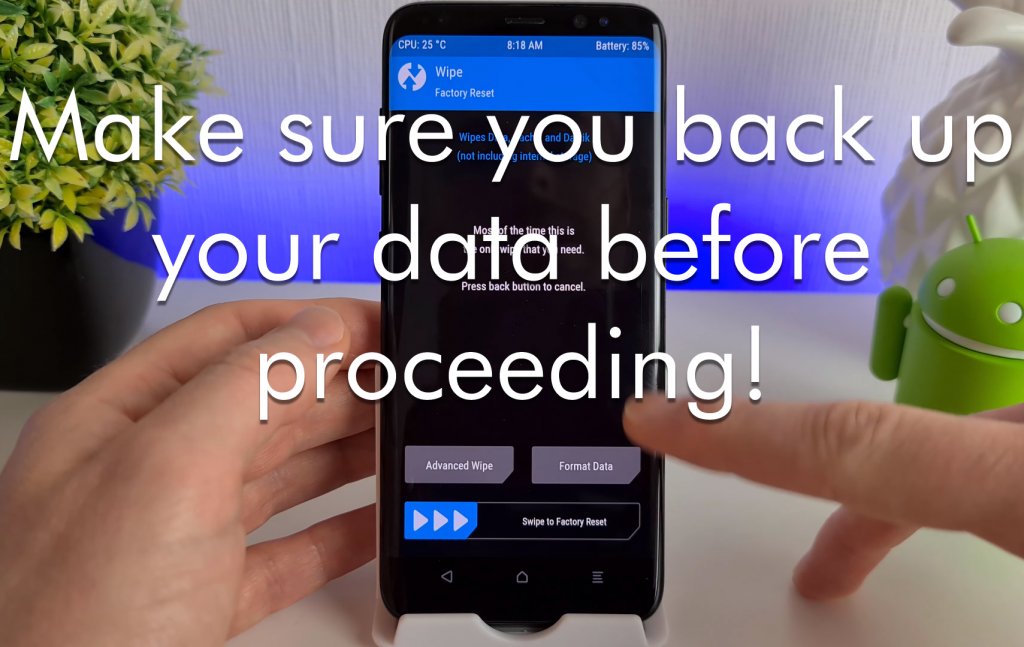
Once you’re happy your data is backed up, click Format Data and then type Yes on the next screen to confirm:
Now click back to the Home screen and click Reboot and then Recovery.
Step 11) Download the latest no-verity zip file (latest is v6.1): https://www.dropbox.com/scl/fo/0ipws3xqnu9040sidkg6y/ALpJj9UYaaTVn4N8hRqHmrw?rlkey=mmk0angz0ndbiz4nltwnishfv&e=1&st=mygpfa13&dl=0 Connect your phone back up to your computer and copy the zip file into the TWRP folder.
Note: Make sure your phone appears in the Windows Device Manager – if it doesn’t you should check the USB cable and also that you have the latest USB drivers installed. The latest Samsung USB drivers can be found here: https://developer.samsung.com/mobile/android-usb-driver.html If your phone is not Samsung you will need to go to your respective manufacturer site to download them.
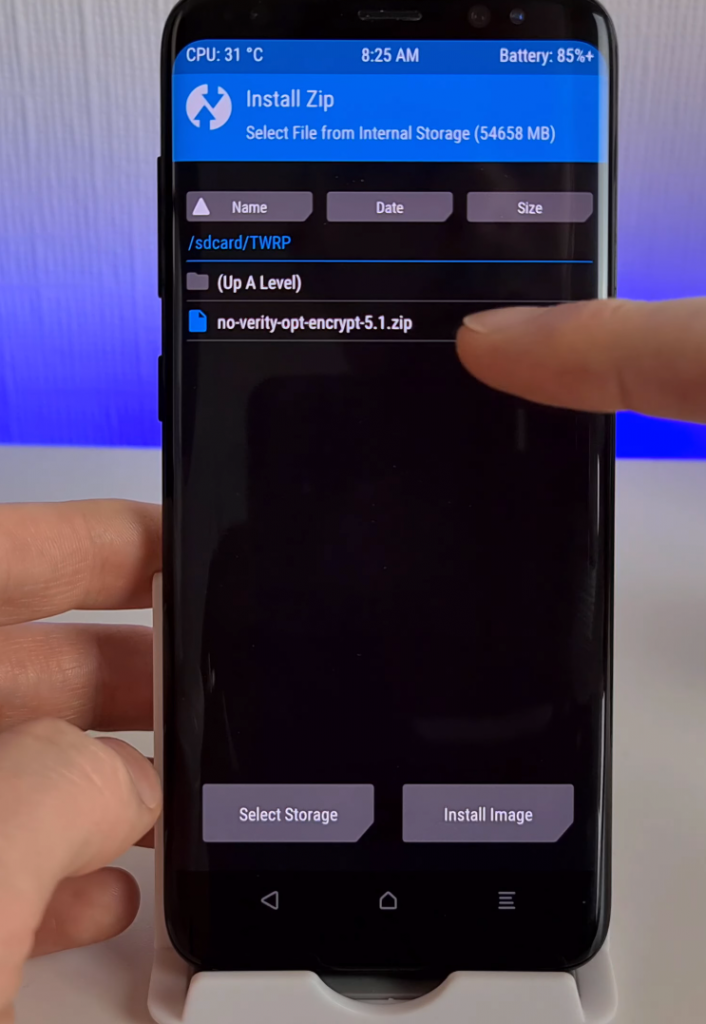
Now, in TWRP click Install and browse into the TWRP folder and select the no-verity zip file:
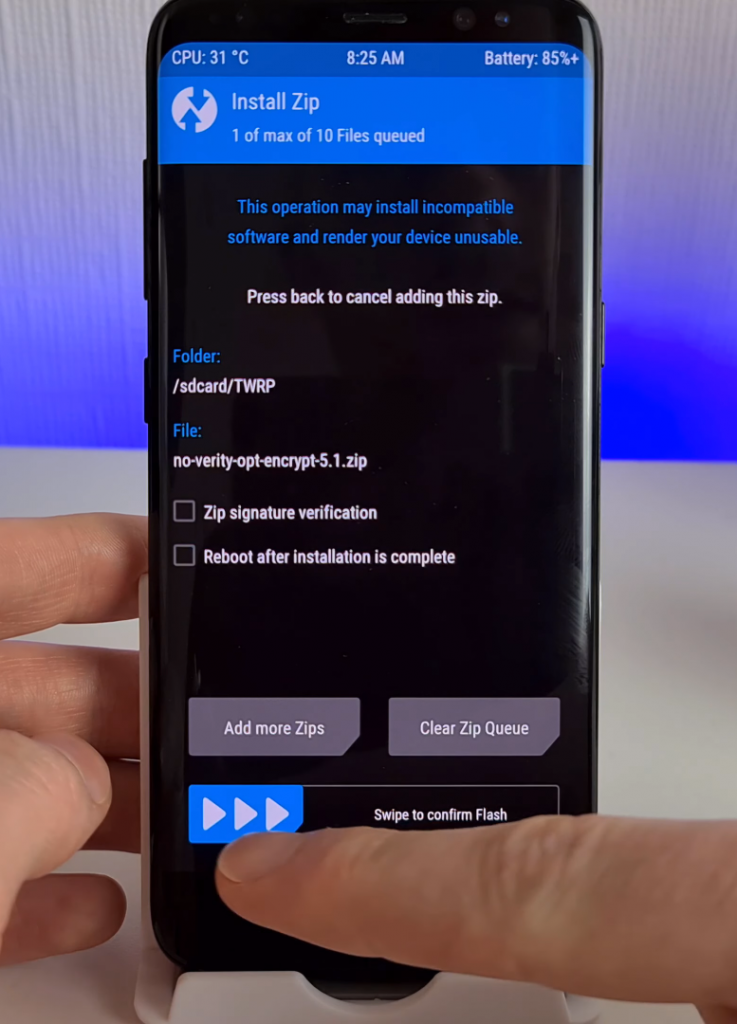
Swipe across the screen to install the zip:
Once complete, Reboot into Recovery and then Reboot to System. The phone will now take several minutes to restart.
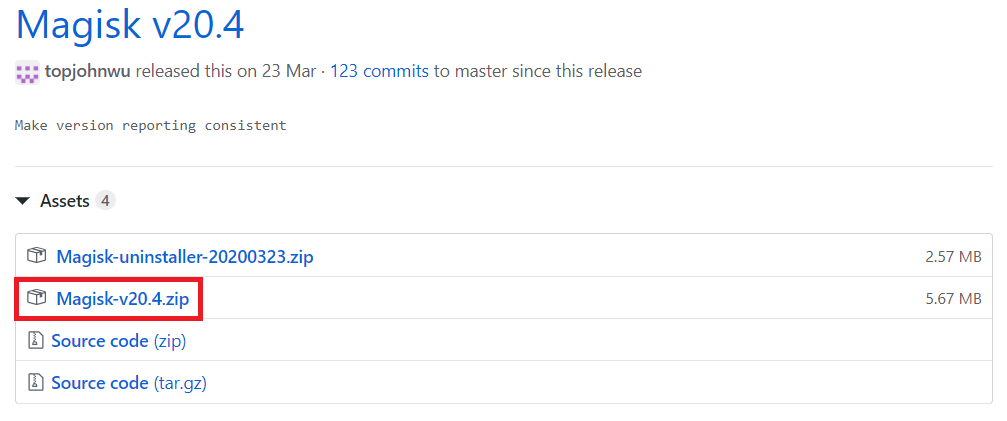
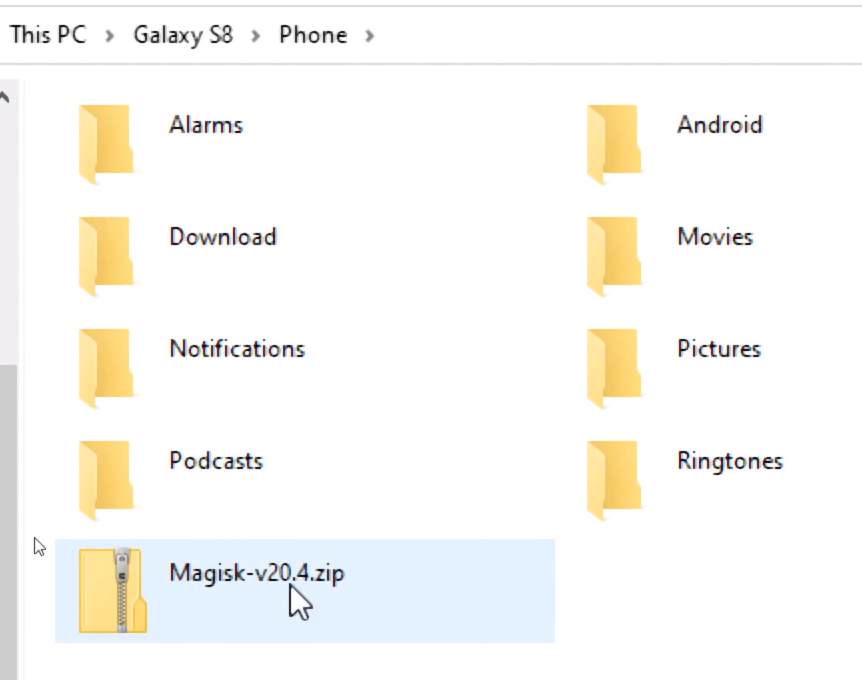
Step 12) After setting up your phone and logging into your Google account we’ll next move on to configuring Root access. To do this we want to download and install Magisk. This is the app which will give us root access, Simply go here and download the latest version: https://github.com/topjohnwu/Magisk/releases At the time of writing, the latest version is 20.4:
Step 9) Once you have the ZIP file, copy it to your phone’s internal storage:
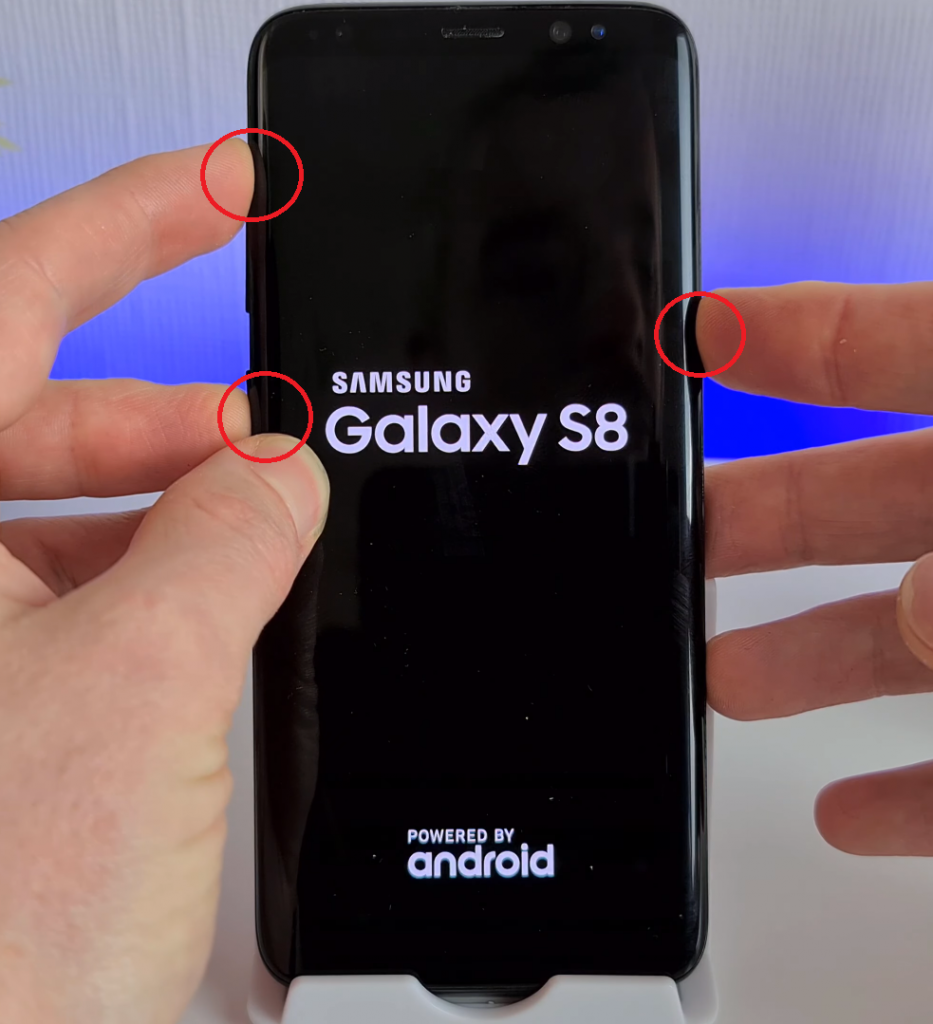
Now it’s time to boot your phone into Recovery mode – this is why we installed TWRP – so we can now install Magisk onto our phone! On my Galaxy S8, recovery mode is accessed by turning off the phone and then holding Volume Up + Bixby + Power:
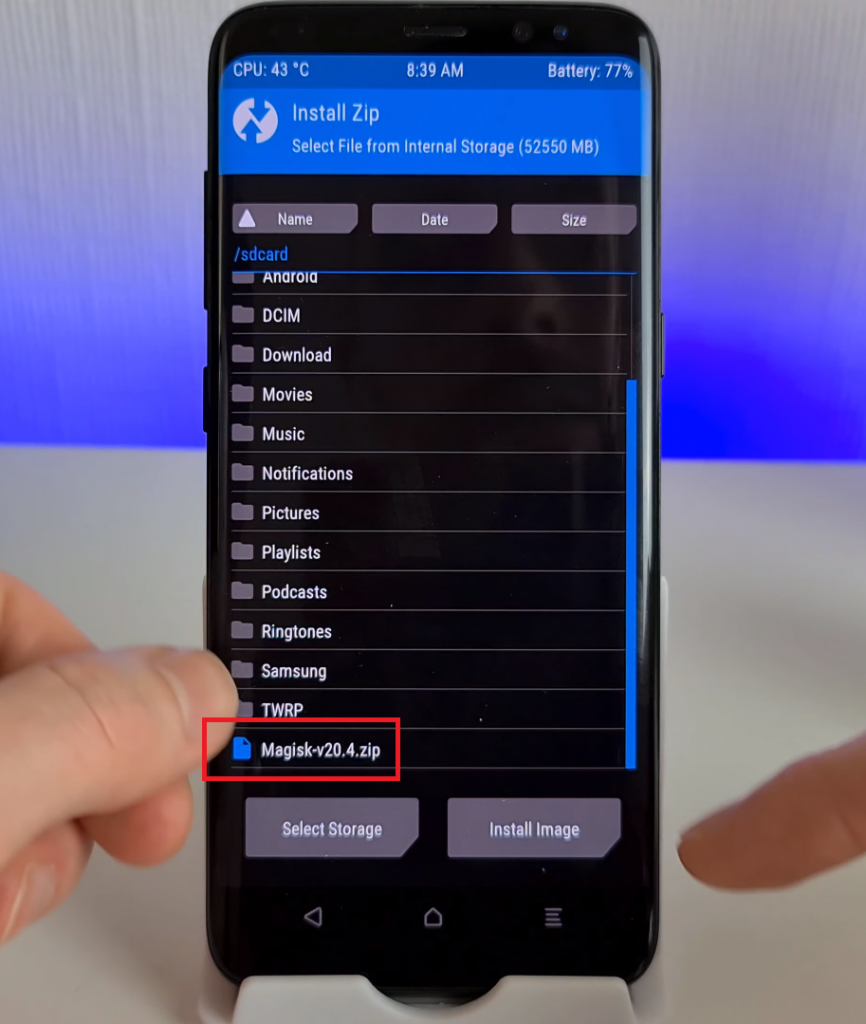
Step 10) Once in TWRP Recovery, click Install:

Browse to the Magisk zip file you copied on earlier and select it:
Now swipe right on the bottom of the screen to flash the zip file:
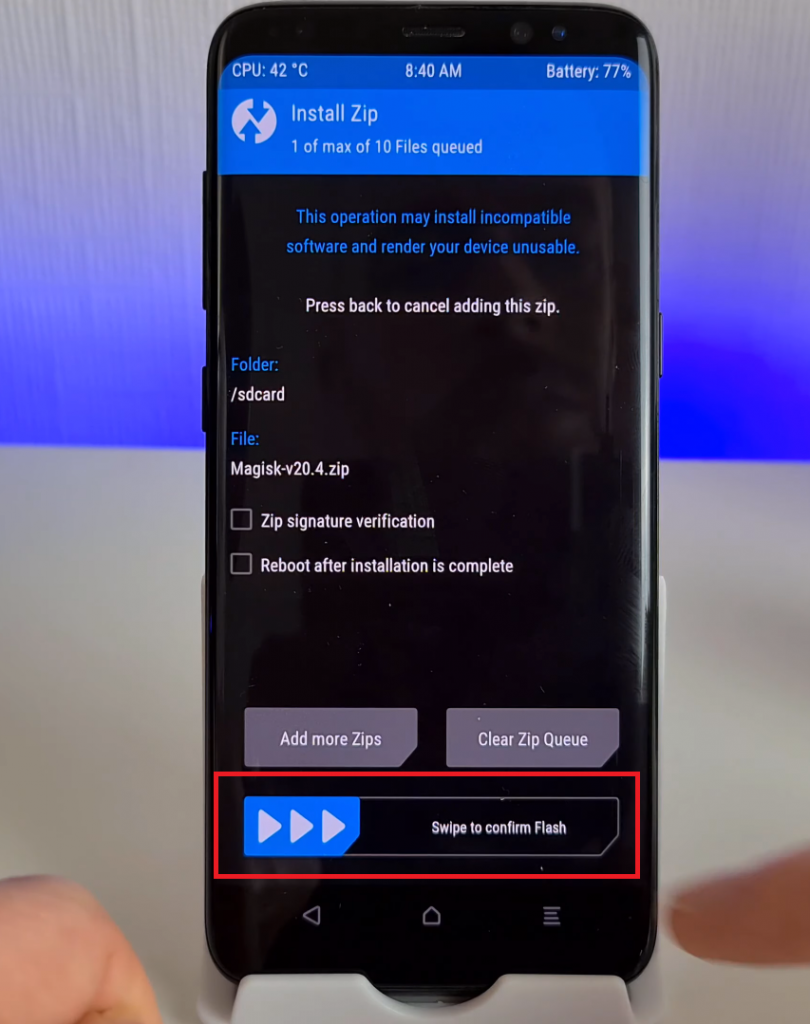
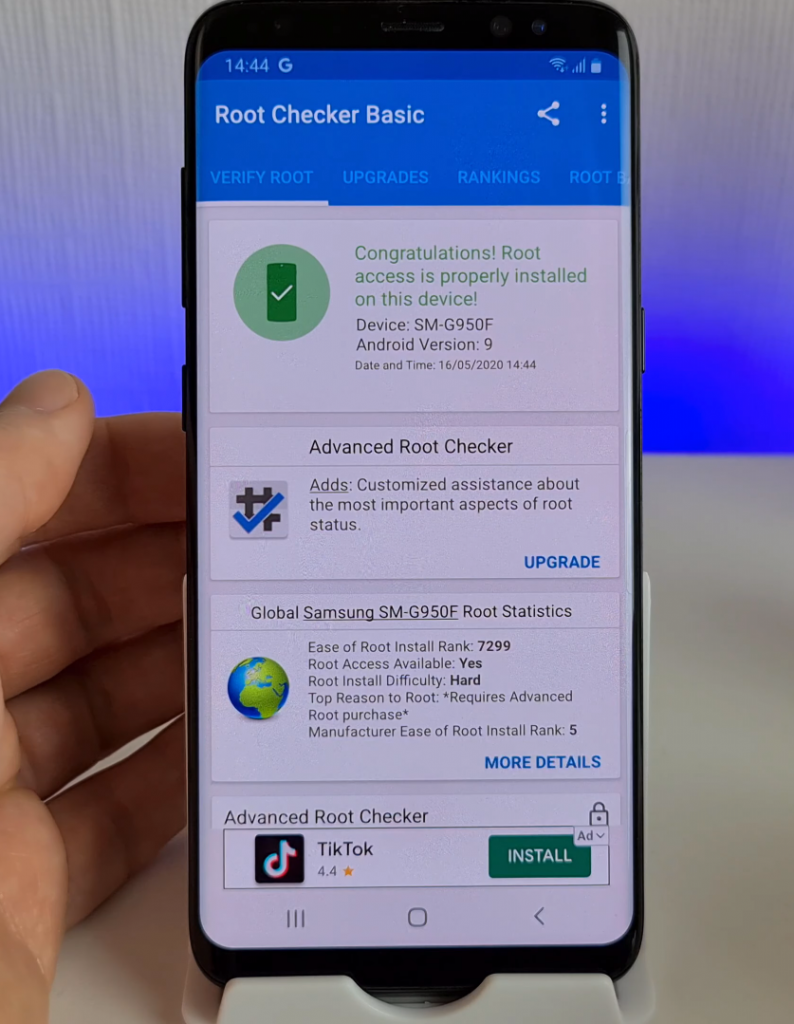
After the install completes click Reboot System and Do Not Install. You now have root access! You can test if you have root by installing an app such as Root Checker from the Play Store:
Hello, world!
I flashed TWRP to my Samsung A10s[107F] and it isn’t coming on.
please can anyone help me with it?
Thanks!
If you ever have an issue with something you’ve flashed then just re-flash your stock ROM and double check the new ROM you downloaded is compatible.
can you help? i got an galaxy s2 and in odin while flashing it fails but i downloaded a good twrp for 9100 can you reply please??
Hi.
i Got A12s
used TWRP which is unofficial it worked then i been given samsung disabler file also to flash
so what i did
Installed unoffical TWRP
went in wipe > format
reboot into recovery
Flash samsung disabler
flash no verity 6.1 but got failed
reboot into recovery
reboot into system but stuck in bootloop.
where i am doing wrong?
mimi ndio kwanza naingia katika ufundi wa simu naomba unisaidie nawezaje kuwasiliana na wewe kila ninapohitaji kukuuliza swali
Hi,
when I download the recovery file for my Samsung Galaxy Xcover 3(SM-G388F) and restart my phone it says:
“RECOVERY IS NOT SEANDROID ENFORCING”
,and then the phone freezes.
Please help me
Hi,
after flashing with twrp, i can’t boot my phone in the twrp recovery mode. It says, ‘this phone has been flashed with unauthorized software and is locked…’ Please help!
If you ever have an issue with something you’ve flashed then just re-flash your stock ROM and double check the new ROM you downloaded is compatible.
Will same no root verity work on all Samsung?
Yes it should
Please help I can’t do anything
Can you post the full error log?
Its when I’m trying to install no verity it’s not working
Error: 1
Im getting the same error, error:1
Updater process ended with error: 1
Error installing zip file
I tried all of the versions same error
Hi Jon
thanks for your manual.
I tried on a Samsung A40, unfortunatelly i´m stuck in the download mode (Your Step 10).
In Odin, everything went fine (twrp-3.5.2_9-0-a40.img.tar) and it tells Passed. But when i disconnect my USB cable, hold Power and Vol down, the Samsung screens appears for a second and then it directly starts in download Mode again. My A40 doesn´t have a bixby button and Power and Vol up doesn´t work.
You got a clue what might help? Appreciate yor help, regards
Hi, Odin is giving me a FAIL result when i try to flash twrp recovery, have you ever encountered this before?
Can you post the full error log so I can take a look?
i cant find no-verity-opt-encrypt for my samsung galaxy s10 (SM-G973F)
can you help me please ?
You can find the latest version here: https://build.nethunter.com/android-tools/no-verity-opt-encrypt/
in dm verity
updater process ended with error can you help me pls
You need to give the error log and more details to be able to help
i cant even find my device ,,, what will i do.I do see this method is safe to use
You can try looking here instead: https://unofficialtwrp.com/
I canot install the magisk 21.1. After installation, I receive a message
Copyng image to cahe
Unpacking boot image
Checking ramdisk status
Stock boot image detected
Patching ramdisk
Repacking boot image
Unable repack boot image
Istallation failed
although with the twrp it says that it was installed,
Please, can you me help? I speak Spanish, Nl. and Russisch. I can read and translate with google.
Thank you